Monday, June 25, 2012

You Send My Life A Whirling- A Hanging Mobile Tutorial

Alright, not gonna lie, I got this idea from a mobile in the gift shop of the BMA. Except that one was more like the one you can see here, which is a lot more modern art-y than anything I could hang up in the house. And then this ended up being really easy after thinking of memories of making mobiles with my mom when I was little. So maybe this came a little more naturally than I'd originally thought!

But enough babbling. Here is what you need. Go!
3 long sticks, roughly the same size, 6-7 shorter sticks (less than half the length of long sticks), twiney-ropey stuff,  4 clothespins, fishing line, and, of course, scissors!
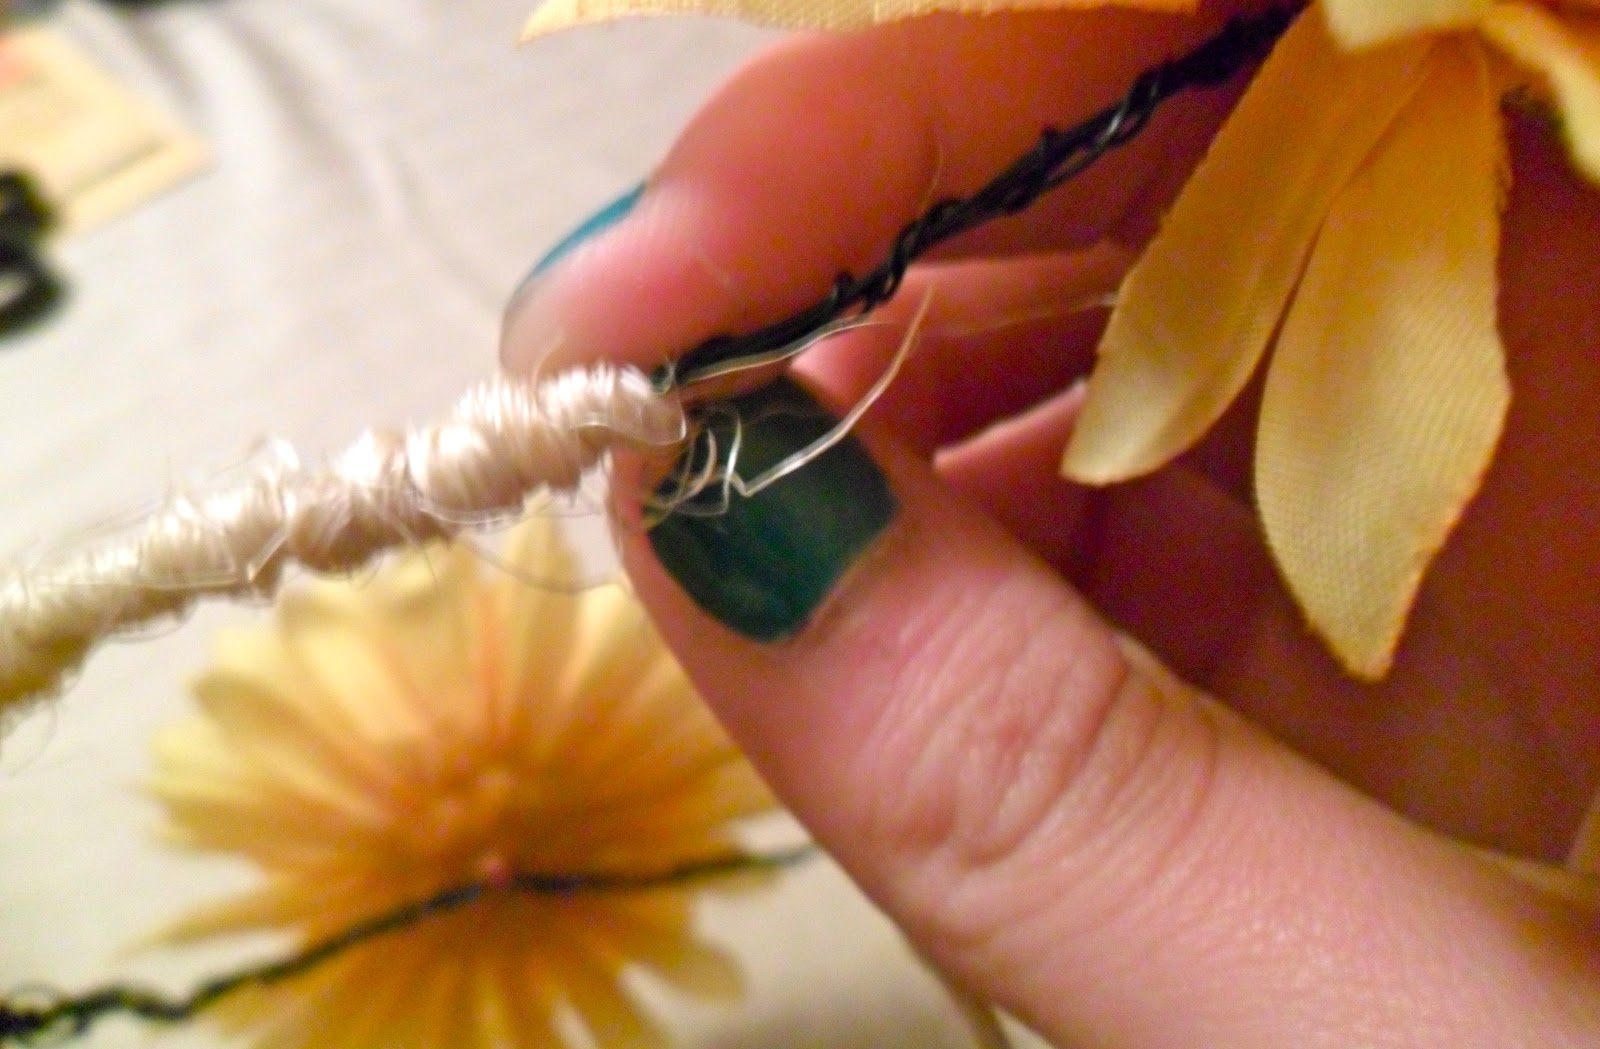
 Take your long sticks and tie them together on each end and in the middle, wrapping the twine around a bunch of times before dying a double knot.


A close up of the knot!

 Repeat this for the other two little bundles, but skip the middle section of rope. You also might have to twist the sticks before you tie them so they curve in the same direction.

Using your fishing line, tie the shorter bundles of sticks to the longer one by tying a knot around one stick in the bundle, right in the center. When you hold up the mobile from the top, the sticks are not going to be balanced! Accept this and move on (unlike a certain tutorial creator).

Then tie on the clothespins with the same fishing line in the same way, with the line going through the little metal loops of the clothespins.

Close up on the knots. Again.
Tie on a piece of twine to hang it with, and you're done! Yay for you!

I had to put some notecards behind one of the post cards to balance it a little better, but it's not really noticeable. Get creative! Which is always a good thing besides. Now sit back and watch it twirl, while listing to Swept Away by the Avett Brothers.

Happy Monday, kiddo.

~Emilia

Thursday, June 21, 2012

Baubles, Bangles, and Beads- Ribbon Bracelet Tutorial

I love this song by Frank Sinatra, which apparently is from the musical Kismet. But his version of Baubles, Bangles, and Beads is so much... jazzier! And it was the perfect background music for makin' some nice bracelets (which was, by the way, super easy)!


So... here are yo materials:
Thin ribbon, and beads. Lots of beads.
Wrap the ribbon, still wound around its thingy, around your wrist so that it has two tails on either side. Make the tails much longer than you think you'll need so you'll be able to tie them in a bow later.

Cut that ribbon!

 Wrap the ribbon around your wrist in the same way again as before, this time holding the tails together with your free hand at the place you want the end of your bracelet to be. Mark that place or just remember it, and then thread your first bead onto the ribbon and tie a knot around it once it's in that spot.

Thread the rest of your beads on, tying on the last bead in the same way as the first. Ta da! That's it!


Now model that bracelet like nobody's business!

You'll glitter and gleam so, you'll make somebody dream so...

Hope your summer's been good so far!

~Emilia

Tuesday, April 24, 2012

Peace, Love, and Floral Headbands- Flower Crown Tutorial

Howdy, there! I found this old autumn-y fake flower and leave garland in the closet, so I plucked off all of the yellow ones because they were much too cheery to be left behind. 

After thinking up a few ideas, I finally decided I wanted to make a crown with them. I looked online for some tutorials, but they all involved hot glue (and who knows where our hot glue gun went) or fake flowers with stems (which mine don't have) so I had to change some things. So I thought I'd post a tute for those in my position (or who just like flower crowns).

Yikes. Long intro. Anyways, you'll need:
Fake flower heads, scissors, wire, twine-like rope, colorful yarn or ribbon [optional]

Start with your wire and wrap a piece around your head, making a circle the size you'd like.
Go over it 4-5 times with wire to make sure it's thick. Try it on to make sure it's not too big or small, and adjust accordingly. This is your crown base.

Taking one of your flower blooms, pop off the plastic cap from the bottom.  

Take a long piece of wire and push it through the hole from underneath, until the flower is at the halfway point on the wire.

 Fold the wire from the top and bring it back down, making a loop. Push it underneath the lip of the little plastic cylinder and slide it through the holes in each level of the fake flower. (I had to pull apart the flower to get the wire through all of them, but it's easy to get back together.) Pull the wire tight.

You're wind up with a flower with two wire tails. Twist each wire tail onto your crown base, one on each side of the flower.

Repeat these steps until all of your flowers are secured onto the crown base. 

Take your twine-y ropey stuff and tie a knot onto the crown. Hemp would probably be better for this, because the rope I used was a little slippery in the knot. 

Start twisting around the wire, being sure to go around the base of the flowers. Go all the way around and, with a separate piece of rope, tie on a bow.

I decided to tie on a braid made out of blue yarn later on. You can do multiple braids in different colors for a full-on hippie rainbow effect, or tie on bows with ribbon or something like that, too.


Wear it to school and spread a little sunshine because I am so sick of all this rain.
Happy Tuesday!

Love,
~Emilia


Monday, April 16, 2012

On the Fringe- Scarf Tutorial

Happy Monday, everybody! Well, at least, make it as happy as a Monday can be, I suppose. Anyways, yay!! New tutorial!

I was at Kohl's yesterday, and saw this cute scarf. I didn't even bother to look at the price, because it looked incredibly easy to make. And it was! It took about half an hour at most, and I really like it!

You'll need...
...a tee shirt and some scissors! That's it, yo!

Trim off that bottom edge. You can save it as a head band if you so desire.

Cut off a pretty large sized rectangle from the bottom of your tee shirt, going through both layers. Mine was roughly 10" tall.

Cut from one of the bottom edges along the fold as high as you want your fringe to go, and repeat this on the other fold. This way you won't end up with any irregularly shaped fringe pieces on the ends.

Cut slices into both layers of your shirt, creating fringe. Be careful not to make them too thin, because a couple of the really thin ones tore off when I was knotting them!

Here's what you end up with. 

Take every two fringe pieces and tie them in a knot a little below the top of your fringe.

A close up on the knots.


The final result!


4 more days 'til the weekend. Hurrah! Have a fabulous week.

Love,
~Emilia


Thursday, April 12, 2012

Bow Headband Tutorial


Hey there! What better way to start off a DIY blog than with a tutorial? Well, let's get started!

Here's what you'll need:
Tee shirt, ruler, scissors, needle and thread (optional: safety pin)- all things you probably have lying around the house!

Go ahead and cut off that bottom hem of your tee shirt. Put the hem to the side to use in a later bow-related step.


 Using a ruler, mark a segment along the bottom of your tee shirt. Make this twice a big as you want the width of your headband to be. I measured 7 inches, because I wanted my band to be a nice, thick 3.5 inches wide. If you want the outside of your tee shirt to be the outside of your headband, turn your shirt inside out first so the markings won't be on your final product!

Make two parallel lines leading from the marks you just made. 

 Cut it out! But be sure to only cut the first layer of the shirt.


Fold your nice rectangle in half (hot dog style) and pin up that bad boy. Then, sew! Make sure right sides are together if it applies, and flip it back right side out one you finish sewing.

Wrap your band around your head the way you would wear it, and see how tight you want it to be. Pin the edges of the widths together where you've determined and sew.

Flip it inside out so the seam is facing the inside, and there you go! A nice, stretchy headband. Try it on and feel proud that you've gotten this far.

Take your tee shirt and draw a rectangle a little bigger than you want your bow to be. (The one in the picture is about 4"x7", but if I was to do this again, I would have made it bigger.). Cut it out, going through both layers of the shirt. I cut mine out with one side on a fold.

So many pins!
Pin all the open sides together, leaving a little gap you won't sew (so you can turn it right side out again!).  

Cut off a little slice from your tee shirt hem.

Sew the ends together, creating a small loop. 

Squish your rectangle... 

 ...and pull the loop over the edges. Voila! A bow!
Sew your bow onto your band (or do the lazy girl's way like me, and just use a safety pin). 

 YOU'RE DONE! YOU DID IT! Feel free to parade around the house in your new accessory, informing all of your family members of your new creation.


Have a wonderful day!
~Emilia